Remove a green screen or plain wall background
Filmed in front of a green screen or plain wall? GifNoBg detects and removes it automatically — or remove the colour yourself with Pick colour.
A plain coloured background — a green screen, a blue sheet, a painted wall — is the easiest kind to remove. GifNoBg handles it in two ways.
1. Automatically: plain wall detection
When you open a clip filmed against one flat colour, GifNoBg notices. It uses that colour as an extra clue to clean up what the AI can miss: gaps between arms and body, blurry edges from fast movement, and the coloured glow around hair.
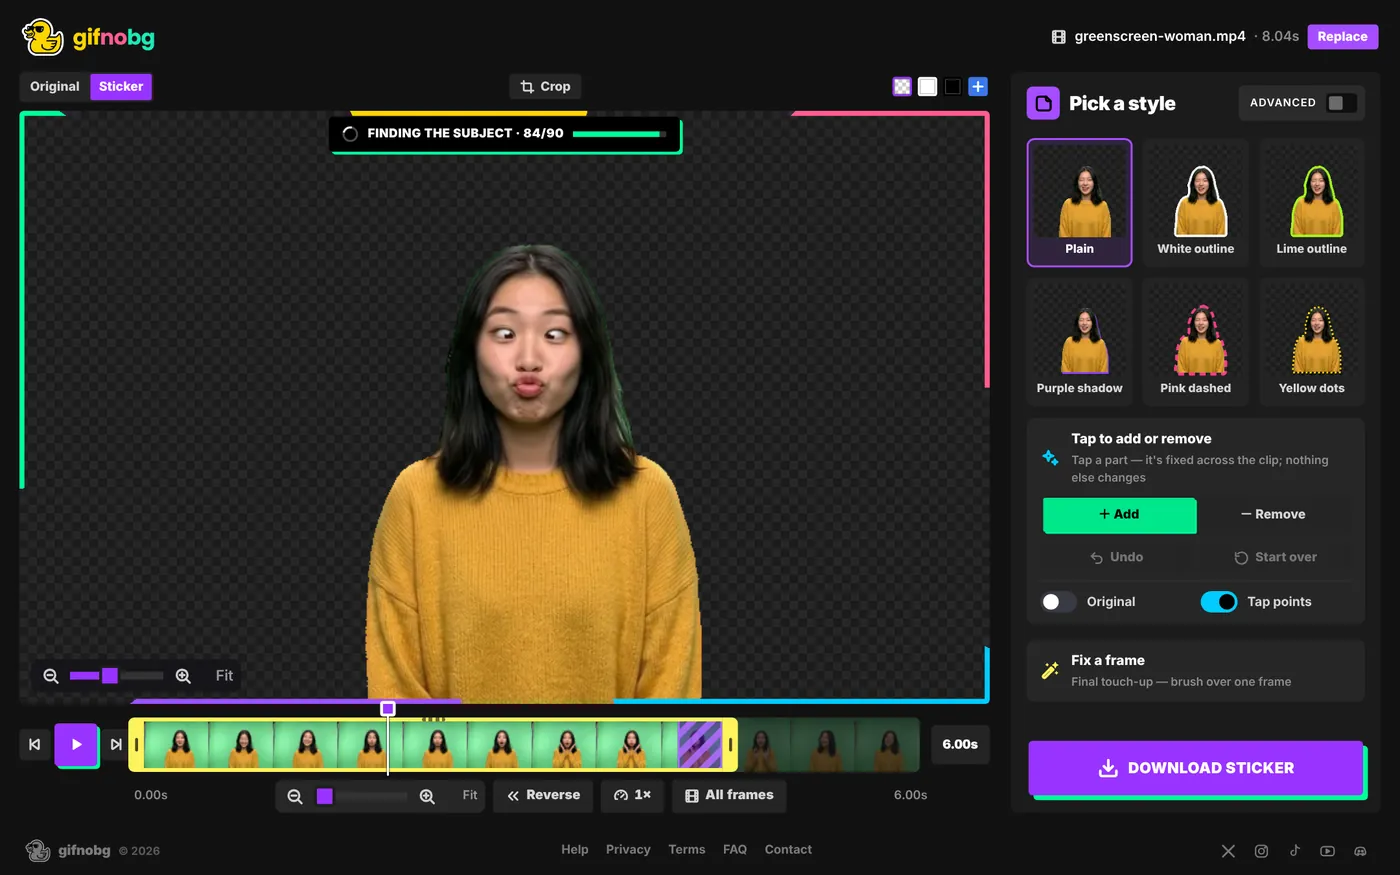
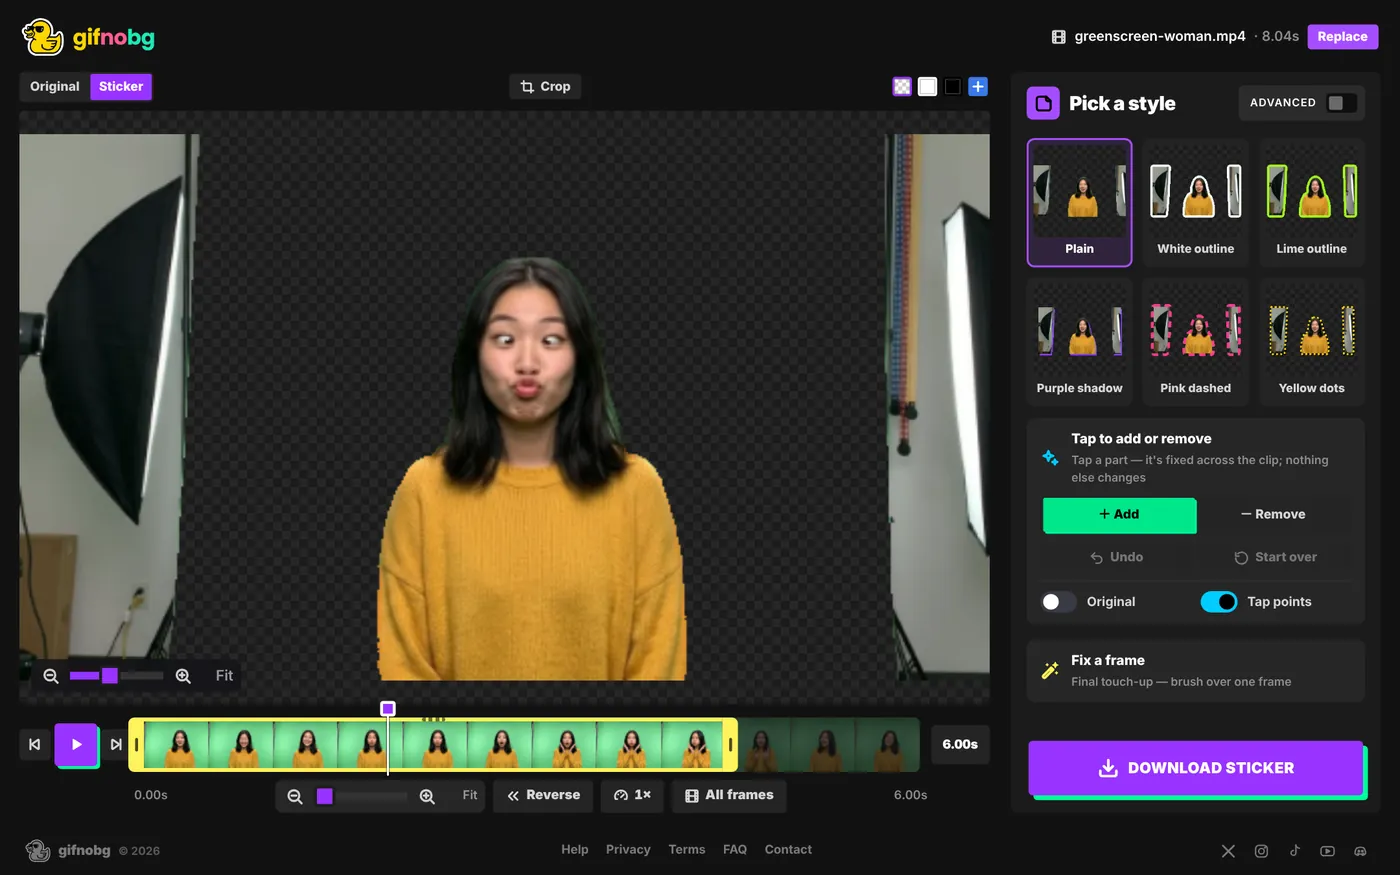
Lights or stands in the shot? Crop first
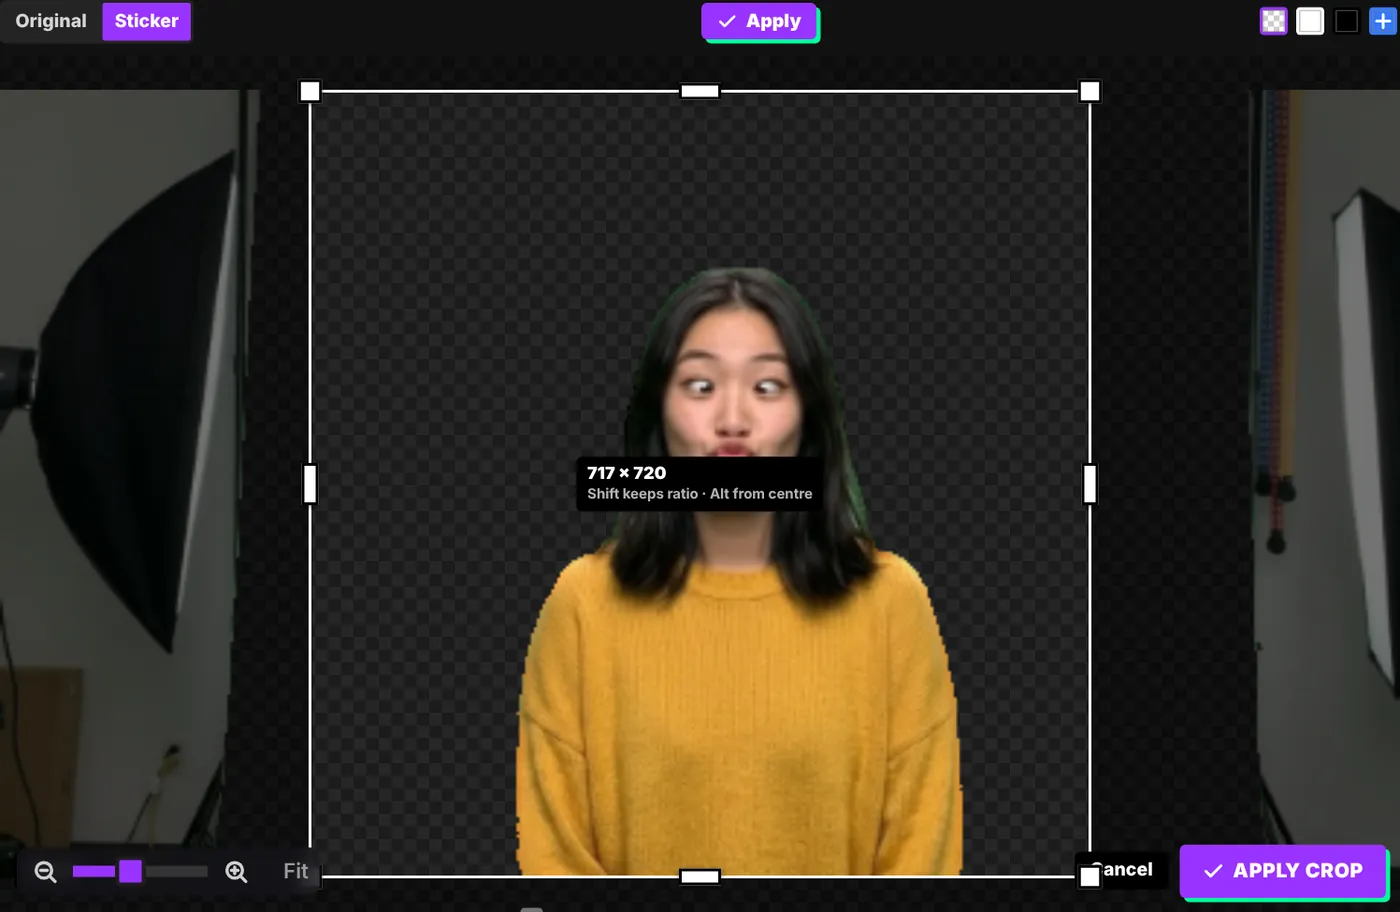
GifNoBg removes the green, but anything else in the room — lights, stands, the wall beside the screen — can stay in the sticker. Click Crop above the preview, drag the box so only the green backdrop is inside, and click Apply crop. The AI looks at the new area again.
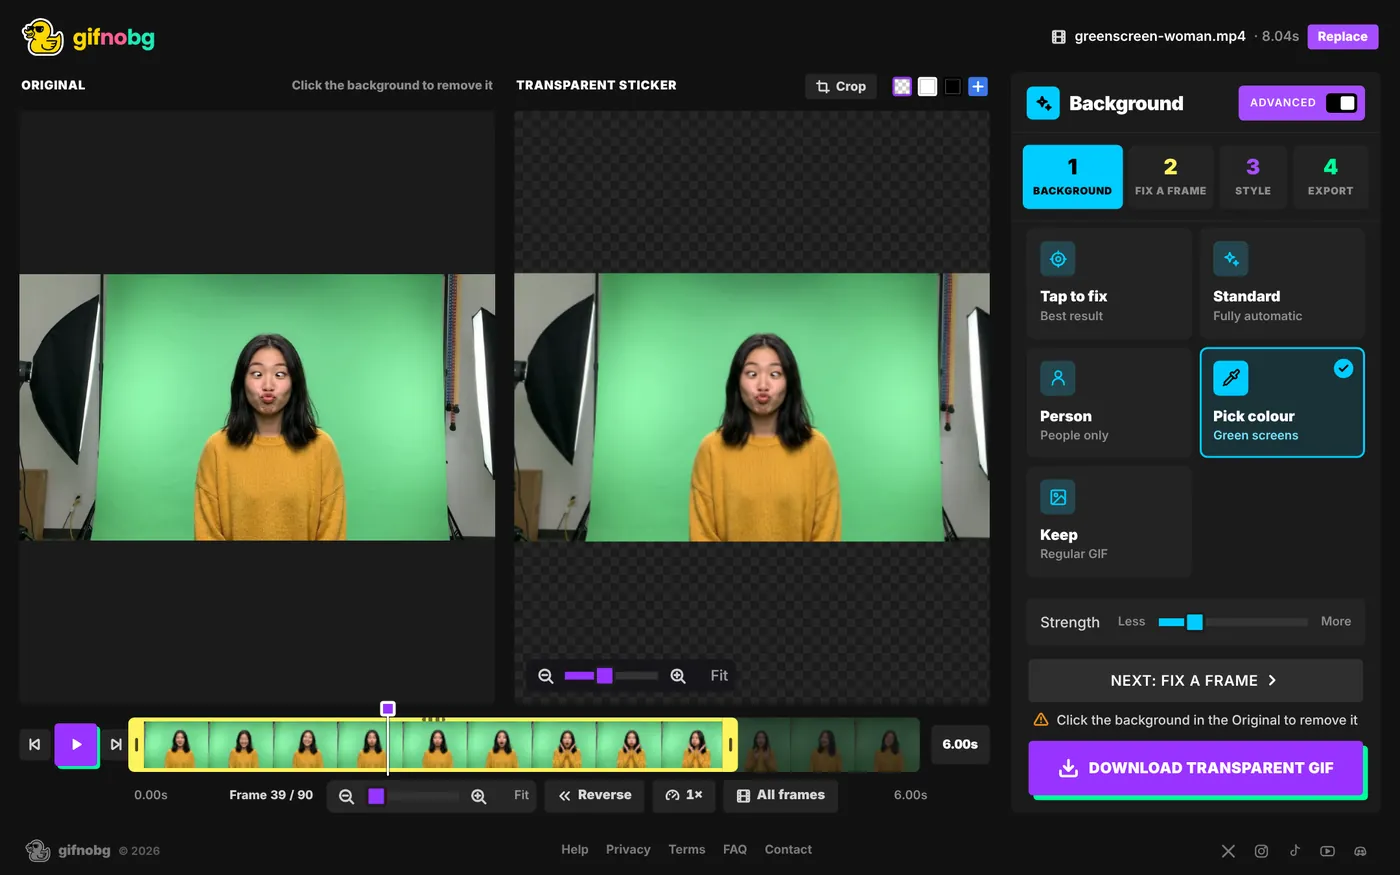
When it finds one, the Advanced editor shows a Plain wall found note under Background, with a button to switch backdrop assist on or off. If the automatic cut-out is already clean, as here, you may not need it at all.
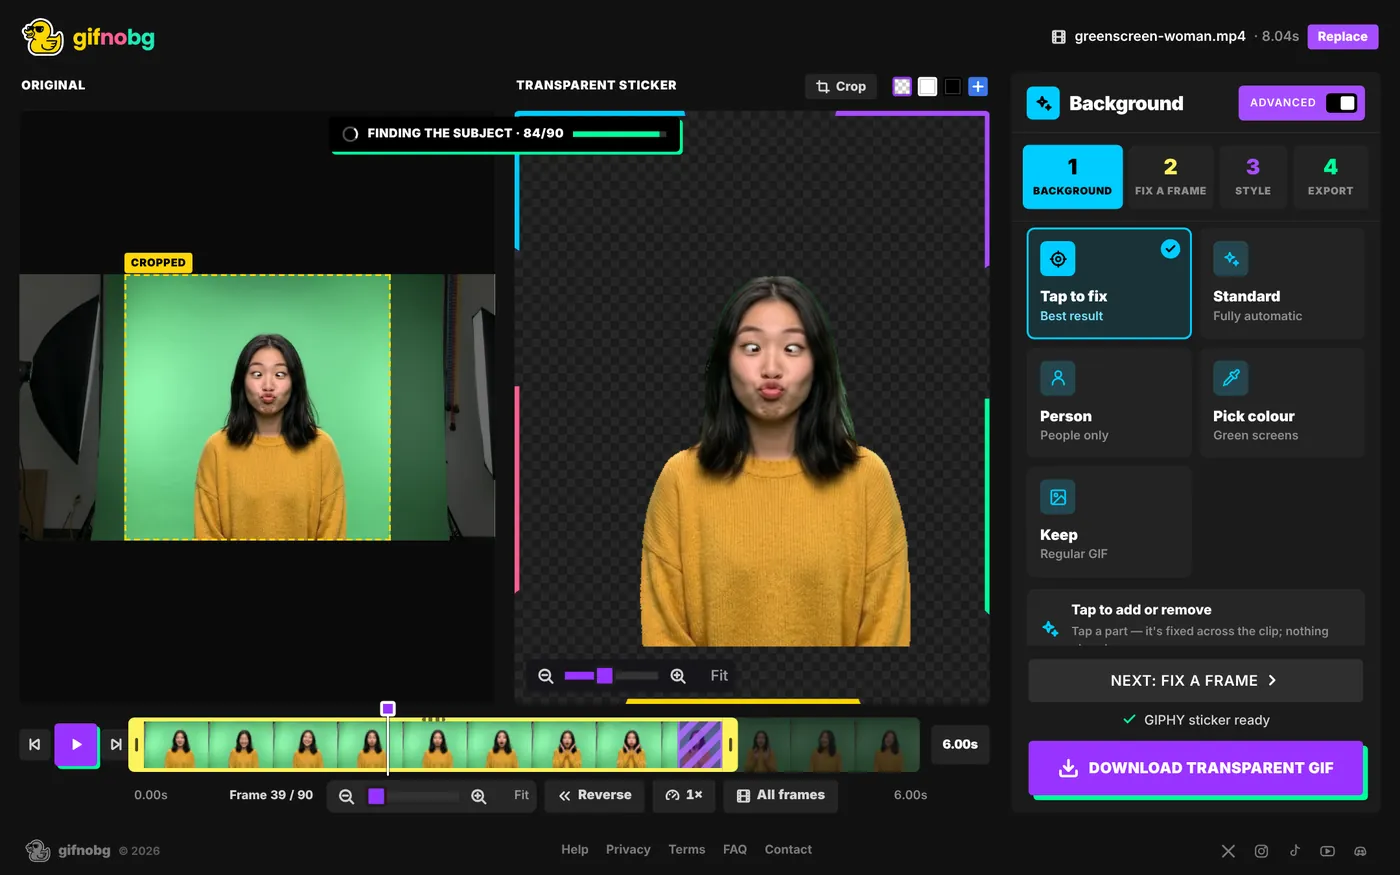
Switch it on for green screens, blue screens or any plain coloured wall, or when you see bits of the wall left around your subject.
Leave it off for busy backgrounds, for white, grey or black walls (too close to skin and clothes), or if your subject wears the same colour as the wall.
2. By hand: Pick colour
- Switch on Advanced (top right).
- Under Background, choose Pick colour.
- Click the background colour in the Original view. Each colour you remove appears under Removed colours — click a swatch to bring that colour back.
- Open More colour options to fine-tune.
More colour options
- Remove: Outside only / Everywhere — "Outside only" removes the colour around the subject but keeps it inside (handy if your subject wears a little green). "Everywhere" removes it wherever it appears.
- Ignore lighting — treats shadows on the wall as the same colour.
- Blend — how wide the range of similar shades is.
- Colour spill — removes the green or blue tint that reflects onto hair and skin.
- Clean specks — removes small leftover dots.
Fill the frame with the green screen when you film, or crop to it afterwards. Light the screen evenly and keep your subject a step or two in front of it — fewer shadows and less colour spill.